Vanilla Ice Cream Recipe for Your Cuisinart Ice Cream Maker

Table of Contents
Remember the thrill of pursuing the ice cream vendor as a child? That first lick of cold sweetness melting on your tongue? Now imagine recreating that magic in your kitchen—without artificial additives or mystery ingredients. With your Cuisinart appliance, you’re just minutes away from crafting velvety-smooth frozen treats that taste like nostalgia in every spoonful.
Homemade desserts let you control what goes into your bowl. No more guessing about preservatives or settling for overly sweet store-bought options. Your machine does the heavy lifting, transforming simple components into luxurious textures that rival boutique shops.
This guide unlocks the secrets to perfecting classic vanilla—the blank canvas for endless creativity. Once you master the base, you’ll experiment with mix-ins from fresh berries to crushed cookies. Seasonal fruits, dietary swaps, or gourmet twists become easy when you start with a reliable foundation.
Summer gatherings gain new meaning when you arrive with a tub of freshly churned goodness. Friends will marvel at your culinary skills, never guessing how effortless it feels with your countertop companion. Let’s explore the equipment, methods, and small adjustments that make each batch memorable.
Overview of Homemade Ice Cream and the Cuisinart Advantage
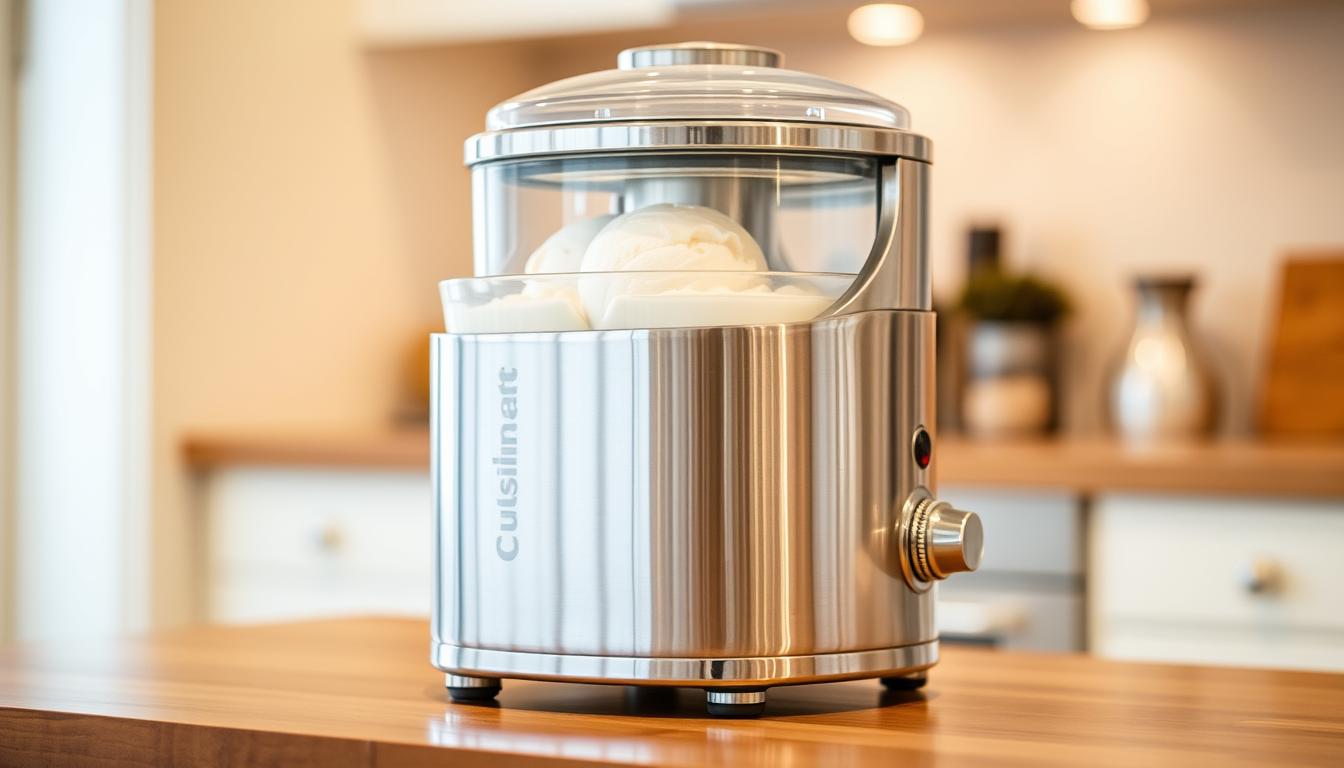
Creating frozen treats in your kitchen lets you ditch artificial additives while dialing in perfect sweetness. You choose organic milk, swap in honey, or boost vanilla intensity—options store shelves can’t match. Cuisinart machines make this personalization simple and achievable, featuring churning technology that competes with professional equipment.
Two main machine types handle the freezing magic. Freezer bowl models like Cool Scoops cost less but need 4-12 hours pre-chilling. Their compact size fits small kitchens, though you’ll wait between batches. Self-freezing units like the ICE-100 skip prep time entirely, letting you whip up dessert on demand for surprise guests.
| Feature | Freezer Bowl | Self-Freezing |
|---|---|---|
| Prep Time | 4-12 hours | None |
| Batch Capacity | 1-2 | Unlimited |
| Cost | $50-$100 | $200-$400 |
| Best For | Occasional use | Frequent hosting |
Homemade versions cost 60% less than premium pints, especially using summer fruit or bulk dairy. Mixing takes 20-45 minutes—less time than it would take to drive to buy some. Best of all, you decide the texture, skipping the rough stabilizers often used in commercial varieties.
Cuisinart’s durable builds mean your machine handles yearly berry seasons and holiday cookie mix-ins without faltering. Whether you’re testing flavors weekly or prepping for birthdays, these tools deliver creamy results that make store-bought taste bland.
Essential Ingredients and Equipment for Homemade Ice Cream
Great desserts start with quality components and reliable tools. Using premium dairy and precise measurements transforms basic recipes into silky-smooth creations that melt evenly on your tongue. Let’s explore what separates forgettable batches from those that disappear before the bowl hits the freezer.
Must-Have Kitchen Tools
Your mixer isn’t the only star here. A heavy-duty whisk prevents lumps in the cream base, while glass measuring cups ensure accurate pours. Keep a small bowl nearby for separating eggs or pre-mixing flavors.
Stainless steel containers chill mixtures faster than plastic. Always dry your freezer bowl completely—even tiny water droplets create ice crystals. Store it upright to maintain proper freezing capacity between uses.
Quality Ingredients for the Perfect Base
Whole milk and heavy cream (36% fat) build the richest texture. Granulated sugar dissolves completely when heated slightly, unlike coarse alternatives. Genuine vanilla beans or real extract offer a complexity that synthetic flavors simply can’t achieve.
Room-temperature cream cheese stabilizes your ice cream base without altering taste. Fresh egg yolks from pasture-raised hens create luxurious mouthfeel. A pinch of flaky salt balances sweetness better than table salt.
Step-by-Step: Preparing Your Vanilla Ice Cream Base
Making smooth frozen custard requires meticulous technique throughout the process. Apply these approaches to convert simple components into a luxurious mixture prepared for churning in your machine.

Mixing and Heating the Ingredients
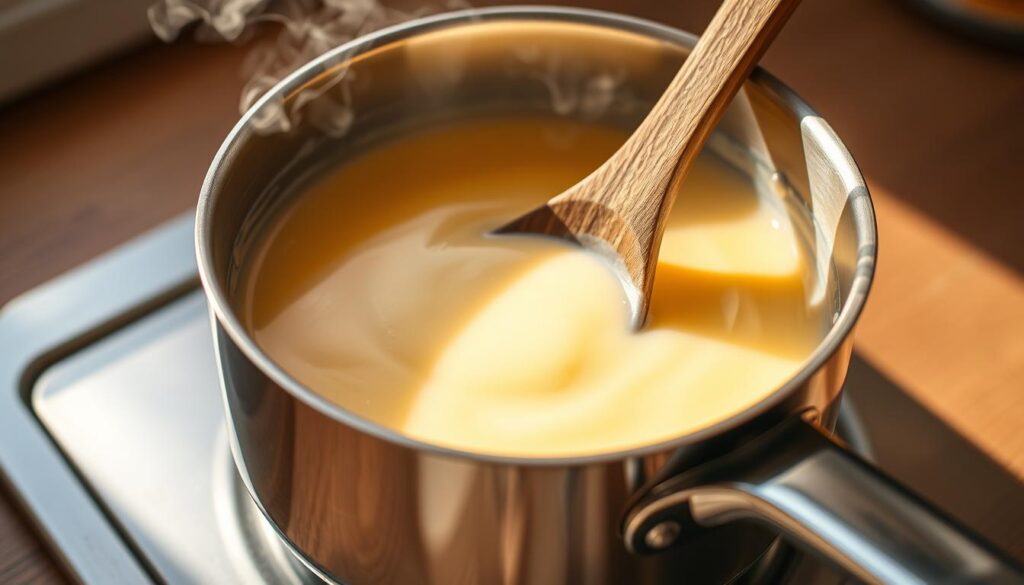
Combine milk, salt, and half the sugar in a heavy saucepan. Heat over medium while stirring constantly—this prevents scorching and ensures even dissolving. Watch for tiny bubbles at the edges indicating a perfect simmer. Never let it boil, as high heat curdles dairy.
Whisk egg yolks with remaining sugar until pale. Gradually pour in ½ cup hot milk mixture while stirring vigorously. This tempering technique prevents scrambled eggs. Put the mixture back in the saucepan and cook for 3-5 minutes until it becomes thick enough to cling to your spoon.
Cooling and Chilling Process
Set the pan in an ice bath immediately. Stir occasionally until room temperature—about 15 minutes. Refrigerate for at least two hours. This waiting period lets flavors deepen and ensures optimal texture development during churning.
Churning Guidelines
Mix chilled custard with cream and vanilla extract. Pour into your pre-frozen Cuisinart bowl. Churn 20-25 minutes until thickened. Stop at soft-serve consistency—overworking creates graininess. Transfer to an airtight container for final freezing.
Pro tip: Scrape vanilla bean pods into the milk mixture for intense flavor. Strain before chilling if using whole beans.
Customizable Mix-Ins and Flavor Variations
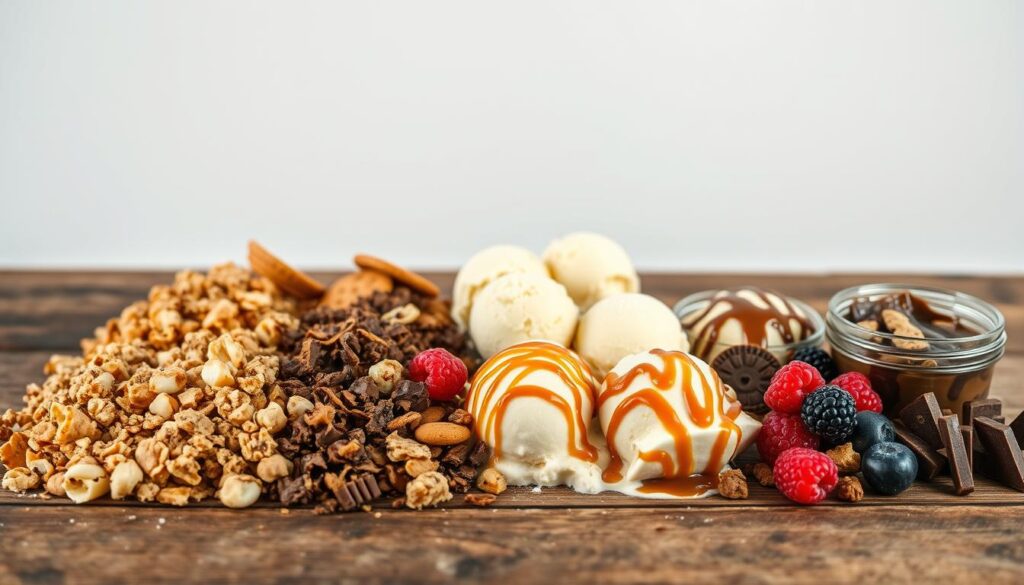
Transform your frozen creations from simple to spectacular with clever add-ins that reflect your taste. The beauty of a classic vanilla base lies in its versatility—it welcomes sweet, crunchy, or spicy elements while maintaining its rich character. The timing is crucial: incorporate ingredients in the last mixing stage to ensure uniform distribution while maintaining texture quality.

Adding Fruits and Nuts
Fresh fruit like strawberries or peaches needs prep work. Cut them into small pieces and mix with sugar to extract their natural juices. For nuts, lightly roast pecans or almonds beforehand to enhance their taste. Cool completely before mixing to preserve crunch.
| Mix-In Type | Preparation Tip | Best Time to Add |
|---|---|---|
| Fresh Fruit | Macerate with sugar | After churning |
| Nuts | Toast & chop | Last 5 minutes |
| Chocolate Chips | Freeze overnight | Final 3 minutes |
| Cookie Pieces | Freeze whole, then crush | Last 2 minutes |
| Peanut Butter | Warm slightly | During transfer |
Experimenting with Extracts and Spices
Swap vanilla extract for almond or maple to create new flavors. Mint works wonders but use sparingly—¼ teaspoon per batch. Warm spices like cinnamon blend best when added during the initial heating phase.
For chocolate lovers, fold in mini chips or swirl melted bars through softened cream ice. Pair peanut butter with crushed pretzels for salty-sweet contrast. Always chill syrups and jams before layering to maintain distinct ribbons.
Ice Cream Maker Recipes: Optimizing Your Cuisinart Performance
Consistent results require smart preparation and timing awareness. Whether using a freezer bowl or self-freezing model, understanding your appliance’s needs ensures every batch reaches its full potential.
Pre-Freeze Strategies for Peak Efficiency
Freezer bowl units demand careful planning. Always store the bowl upright in your freezer’s coldest zone—usually the back wall. This positioning maintains consistent temperatures for effective churning. Check for moisture before freezing; even tiny droplets create ice crystals that disrupt the freezing process.
For spontaneous dessert cravings, keep the bowl frozen year-round. This eliminates the 24-hour wait between batches. Self-freezing models simplify timing—power them on 10 minutes before use to let compressors stabilize.
| Consideration | Freezer Bowl | Self-Freezing |
|---|---|---|
| Pre-Freeze Time | 24 hours | 10 minutes |
| Batch Capacity | Single | Continuous |
| Refreeze Needed | Yes | No |
| Best Use Case | Weekly treats | Entertaining |
Chill all ingredients and tools beforehand. Cold mixtures freeze faster, reducing churn time by up to 25%. Watch the clock closely—most units hit peak efficiency between minutes 20-35. Stop at soft-serve texture; over-churning creates graininess.
For multiple batches, self-freezing models save time. Freezer bowl users should have spare bowls ready. Remember: once churning begins, you have 40 minutes before the bowl loses effectiveness. Set timers to avoid texture issues.
Troubleshooting: Common Issues and Quick Fixes
Even experienced dessert creators encounter challenges. Understanding these solutions helps maintain your appliance’s performance while achieving that signature silky texture every time.
Preventing Ice Crystals
Chill your base mixture overnight for optimal results. Warm ingredients create condensation in the freezer bowl, leading to gritty textures. Always dry components thoroughly before assembling.
Store finished batches in airtight containers with pressed parchment paper on the surface. This blocks air exposure causing frost formation. Avoid adding liquid flavorings exceeding 1 tablespoon per quart.
Ensuring Proper Churning
If your mixture isn’t thickening, verify the bowl froze solidly for 24+ hours. Position it upright in your freezer’s coldest zone. Stop churning at soft-serve consistency—overworking separates fats.
Alcohol-based additions like bourbon require recipe adjustments. For every ounce added, reduce other liquids by ½ ounce. This maintains the critical freezing balance while preserving flavor intensity.
