
Easy Pineapple Upside Down Cake from Scratch – Classic Homemade Recipe
There are desserts that simply taste like home. One bite of warm pineapple upside down cake instantly takes you back to Sunday dinners, holiday gatherings, or those afternoons when the kitchen smelled of caramelized sugar and butter. If you’ve ever wished to recreate that nostalgic sweetness without spending hours baking from scratch, you’re in luck. With just a few simple steps and a box of cake mix, you can prepare a pineapple upside down cake with cake mix that looks as stunning as it tastes.
In this guide, you’ll discover everything you need to bake this classic cake at home—from gathering the right ingredients to mastering the flip. Whether you’re a first-time baker or someone looking to bring back childhood memories, this recipe will give you all the confidence you need.
Table of Contents
Why You’ll Love This Pineapple Upside Down Cake
Before diving into the how-to, let’s talk about why this dessert is still a favorite generation after generation.
- It’s easy: You don’t need professional baking skills to pull this off.
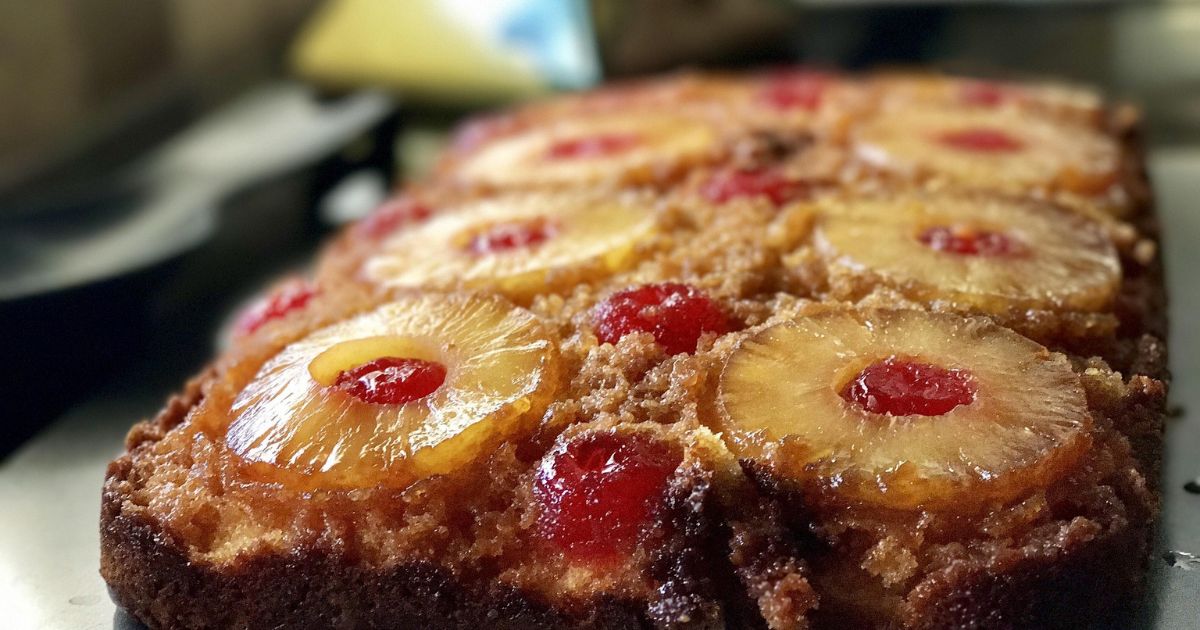
- It’s beautiful: The glossy pineapple rings and bright cherries look like artwork once the cake is flipped.
- It’s versatile: Perfect for birthdays, potlucks, or a weeknight treat.
- It’s nostalgic: Every slice carries that comforting flavor of buttery caramel and tropical fruit.
In short—you’ll love how simple, flavorful, and visually stunning this cake can be.
Ingredients for Pineapple Upside Down Cake with Cake Mix
Getting the right ingredients makes all the difference. Each component adds flavor, texture, and structure to the cake.
For the Caramelized Topping
- Brown sugar: brings that molasses-rich sweetness.
- Butter: adds depth and keeps the topping moist.
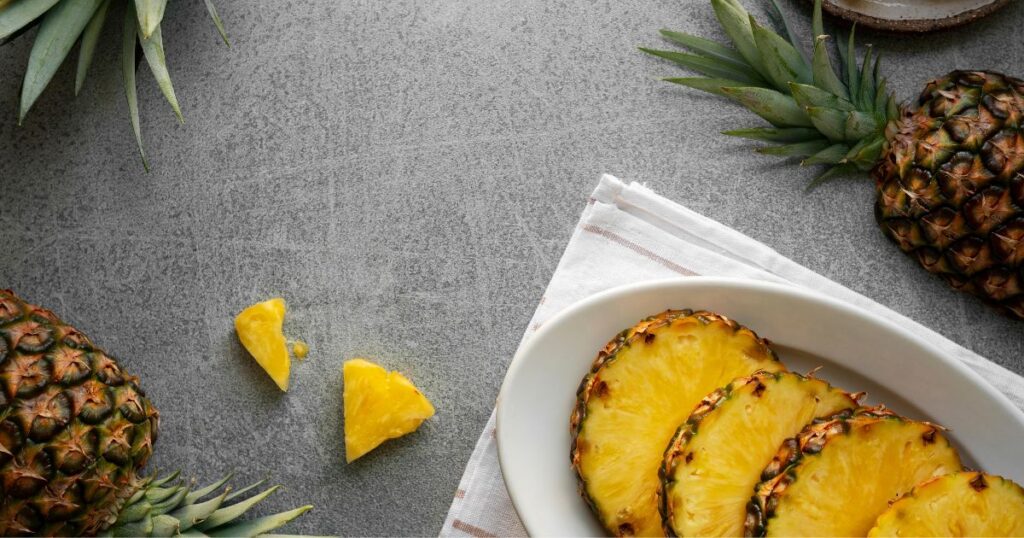
- Pineapple slices: canned or fresh, whichever you prefer.
- Maraschino cherries: a bright pop of color and flavor.
For the Cake Batter
- Boxed yellow cake mix: saves time while still delivering flavor.
- Pineapple juice: swap this in for water to amplify the tropical taste.
- Eggs: help the cake rise and add richness.
- Oil or melted butter: for a tender crumb.
👉 To keep everything clear, here’s a handy ingredient table:
| Ingredient | Amount | Notes |
|---|---|---|
| Brown Sugar | ½ cup | Light or dark, both work well |
| Butter | ¼ cup | Melted, for even spreading |
| Pineapple Slices | 1 can (20 oz) | Fresh slices work too |
| Maraschino Cherries | 8–12 pieces | Optional, but traditional |
| Yellow Cake Mix | 1 box (15.25 oz) | Any brand, standard size |
| Pineapple Juice | 1 cup | From canned pineapple or fresh |
| Eggs | 3 | Large |
| Oil or Butter | ⅓ cup | Adds moisture |
Step-by-Step Instructions
Step 1 – Make the Topping
Start by melting butter directly in your baking pan. Sprinkle the brown sugar evenly across the bottom. Then, carefully arrange the pineapple slices on top, slipping cherries into the center of each ring. This step is what creates that signature glossy crown once you flip the cake.
Step 2 – Prepare the Cake Batter
Follow the directions on your cake mix box, but with one crucial tweak—replace the water with pineapple juice. This simple swap adds a burst of flavor that makes the cake taste homemade. Combine the eggs, oil (or butter), and mix until smooth.
Step 3 – Assemble and Bake
Pour the batter gently over the topping in the pan. Smooth the surface so it bakes evenly. Place in a preheated oven at 350°F (175°C) for 40–45 minutes, or until a toothpick inserted in the center comes out clean.
Step 4 – Flip the Cake
Here’s the dramatic moment: after letting the cake rest for about 10 minutes, run a knife along the edges. Place a large plate on top of the pan, then carefully invert. Lift the pan slowly, and you’ll reveal a gorgeous caramelized topping.
Tips for the Perfect Pineapple Upside Down Cake
To avoid common mistakes, keep these expert tips in mind:
- Use room temperature eggs for a fluffier cake.
- Don’t overbake—check at 40 minutes.
- Flip the cake while it’s still warm; waiting too long makes the topping stick.
- Drain pineapple slices well to prevent a soggy cake.
- For extra depth, add a teaspoon of vanilla or a splash of rum extract to the batter.
Delicious Variations to Try
Once you’ve mastered the classic version, experiment with these fun twists:
- Mini Cakes: Use muffin tins for single-serve portions.
- From Scratch: Replace the cake mix with flour, sugar, baking powder, and butter.
- Vegan-Friendly: Substitute eggs with flax eggs and use plant-based butter.
- Gluten-Free: Swap in a gluten-free cake mix.
How to Store and Serve Pineapple Upside Down Cake
- Best served: warm or at room temperature.
- Storage: cover tightly and refrigerate for up to 3 days.
- Reheating: warm slices in the microwave for 20 seconds.
- Serving suggestion: pair with whipped cream, vanilla ice cream, or coconut flakes for a tropical touch.
Frequently Asked Questions
Can I use fresh pineapple instead of canned?
Yes, but canned pineapples provide consistent sweetness and are easier to work with.
How do I prevent the topping from sticking to the pan?
Make sure butter and sugar cover the entire base before adding fruit.
Can I make pineapple upside down cake with cake mix ahead of time?
Absolutely—bake it a day before and reheat gently before serving.
Why is my cake soggy?
This usually happens if you don’t drain the pineapple slices properly.
Can I freeze pineapple upside down cake?
Yes, wrap tightly and freeze for up to two months. Thaw in the fridge overnight before serving.
Conclusion – A Cake Worth Flipping For
Now you know how easy it is to create a show-stopping dessert with a simple pineapple upside down cake with cake mix. From its caramelized topping to its moist, flavorful base, this recipe is proof that classics never go out of style. The best part? You don’t need fancy ingredients or expert skills—just a love for baking and a willingness to flip.
So, grab that cake mix, line up those pineapple rings, and give yourself a reason to enjoy a slice of nostalgia. Once you see the smiles around the table, you’ll know it was worth every step.
👉 Call to Action: Try this recipe at your next family dinner or celebration, then share your experience. Did you stick with the classic version, or did you try a variation? Let your baking adventure inspire others!