
How to Make Homemade Vanilla Ice Cream with an Ice Cream Maker
There’s something undeniably magical about homemade vanilla ice cream. The creamy texture, the sweet aroma of real vanilla, and the simple joy of crafting something delicious with your own hands—it’s an experience that store-bought treats simply can’t replicate. Imagine scooping a perfectly smooth, luscious serving into a bowl and savoring every bite, knowing you created it yourself. Making ice cream at home is not just about dessert; it’s about connecting with flavors, memories, and moments that make life sweeter.
If you’ve ever dreamed of mastering the art of homemade ice cream, you’re in the right place. Using an ice cream maker, you can transform everyday ingredients into a dessert that feels indulgent, yet wholesome. Let’s dive into the full guide to creating the perfect vanilla ice cream right in your kitchen.
Table of Contents
Why Make Homemade Vanilla Ice Cream?
You might wonder why you should bother making ice cream from scratch when stores are full of ready-made options. The answer is simple: control, quality, and creativity.
Control the Ingredients
- You choose what goes in—no preservatives, artificial flavors, or unnecessary additives.
- You can adjust sugar levels, creaminess, or even add your favorite natural sweeteners.
Customize Flavors and Textures
- Want chocolate chips, cookie chunks, or swirls of caramel? You decide.
- Homemade ice cream allows you to experiment with mix-ins and achieve the exact texture you love.
A Fun and Rewarding Experience
- Churning ice cream is a hands-on, engaging process.
- It’s a delightful activity to share with family or friends, turning dessert preparation into an enjoyable ritual.
Better Taste and Freshness
- Homemade ice cream tastes fresher, richer, and creamier than most store-bought brands.
- You can enjoy the full flavor of high-quality ingredients without any compromise.
Ingredients You’ll Need for Homemade Vanilla Ice Cream
Crafting the perfect vanilla ice cream begins with quality ingredients. Using fresh, high-quality components makes all the difference in flavor and texture.
Core Ingredients
| Ingredient | Quantity | Notes |
|---|---|---|
| Heavy cream | 2 cups | Ensures creamy and smooth texture |
| Whole milk | 1 cup | Balances richness without being too heavy |
| Granulated sugar | ¾ cup | Adjust to taste |
| Vanilla extract | 2 tsp | Pure vanilla is recommended for best flavor |
| Egg yolks | 4 large | Optional, for custard-style richness |
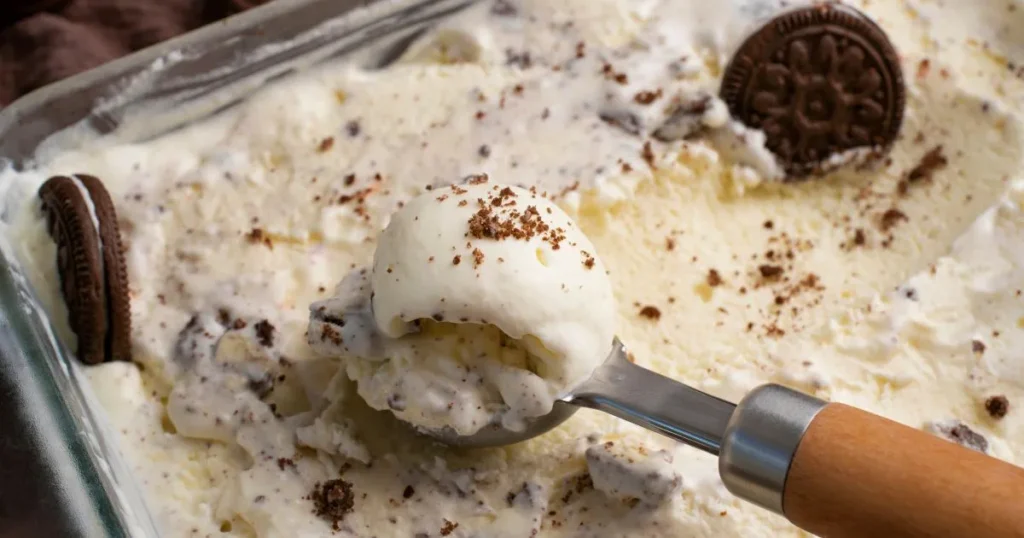
Optional Mix-ins and Variations
- Chocolate chips, cookie crumbles, or fruit purees
- Toasted nuts, caramel swirls, or fresh berries
- Add mix-ins after churning for even distribution
Step-by-Step Guide to Making Homemade Vanilla Ice Cream
Making ice cream is a precise yet rewarding process. Follow these steps carefully for the best results.
Step 1 – Prepare the Ice Cream Base
- Whisk Egg Yolks and Sugar: Combine yolks and sugar in a bowl. Whisk until pale and slightly thickened.
- Heat Milk and Cream: In a saucepan, heat milk and cream until steaming, not boiling.
- Temper the Eggs: Slowly pour hot milk mixture into the yolks while whisking constantly.
- Cook Custard: Return mixture to the saucepan, cook over low heat until it slightly thickens (coats the back of a spoon).
- Strain the Custard: Pour through a fine mesh sieve to remove any cooked egg bits, ensuring a silky-smooth texture.
Step 2 – Chill the Base
- Refrigerate for at least 4 hours, ideally overnight.
- Chilling improves texture and allows flavors to meld beautifully.
Step 3 – Churn in Ice Cream Maker
- Pour chilled base into your ice cream maker.
- Churn according to your machine’s instructions (typically 20–30 minutes).
- Watch for the texture: soft, creamy, and just set.
Step 4 – Freeze for Firmness
- Transfer churned ice cream to an airtight container.
- Freeze for 2–4 hours for scoopable consistency.
- Tip: Place a piece of parchment paper on top to prevent ice crystals.
Tips and Tricks for Perfect Homemade Vanilla Ice Cream
Achieving that perfect texture and flavor requires some insider tips:
- Use High-Quality Vanilla: Pure vanilla extract or scraped vanilla bean gives the best aroma and taste.
- Ensure Proper Freezing: Ice cream maker bowls must be fully frozen if your model requires it.
- Avoid Over-Churning: Over-churning can lead to a grainy texture. Stop when the mixture thickens but is still smooth.
- Storage Matters: Store in an airtight container in the coldest part of your freezer.
- Serve Smart: Let the ice cream sit at room temperature for a few minutes before scooping for perfect texture.
Common Mistakes to Avoid
Even experienced home chefs sometimes make avoidable errors. Here’s how to prevent them:
- Using low-fat milk instead of whole milk or cream—leads to icy texture.
- Not chilling the base thoroughly before churning.
- Adding mix-ins too early, which can interfere with texture.
- Skipping the proper freezing time after churning.
- Overheating custard, causing eggs to curdle.
FAQ
Can I make homemade vanilla ice cream without an ice cream maker?
Yes! Use a no-churn method by whipping heavy cream and folding in sweetened condensed milk. Freeze until firm.
How long does homemade vanilla ice cream last?
Typically 1–2 weeks in the freezer if stored in an airtight container. Consume sooner for optimal freshness and texture.
Can I make dairy-free vanilla ice cream at home?
Absolutely! Substitute coconut milk, almond milk, or cashew cream for dairy. Use a non-dairy sweetener and adjust churning time as needed.
How do I prevent ice crystals in homemade ice cream?
- Ensure the base is properly chilled before churning.
- Avoid storing in the freezer door.
- Add a small amount of alcohol or extra sugar to improve smoothness.
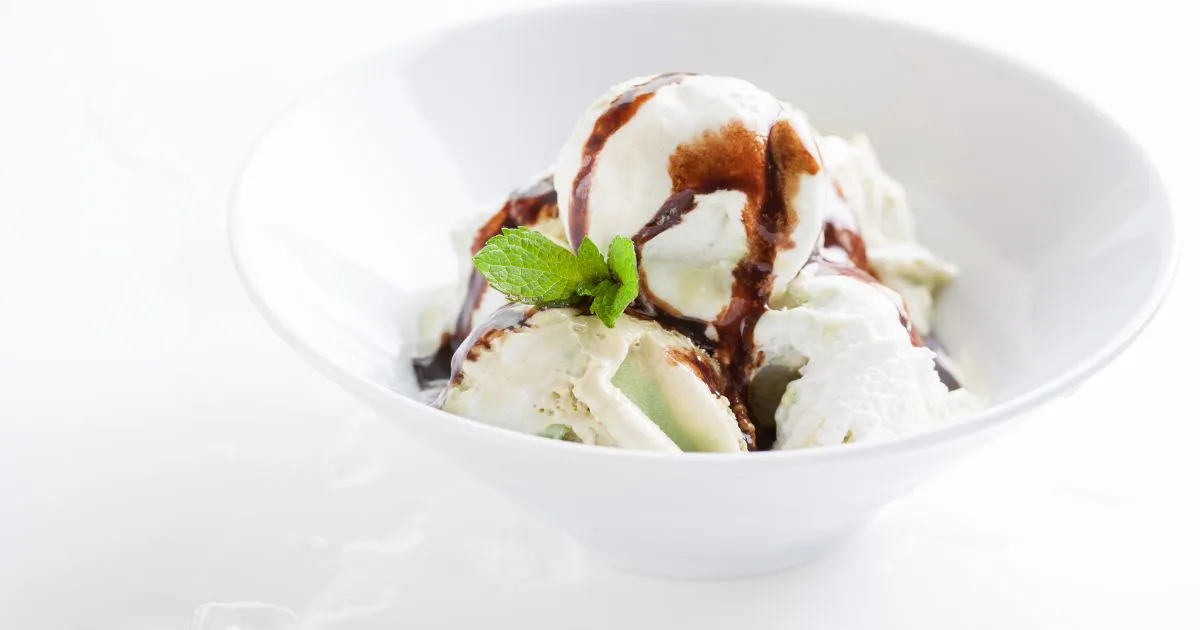
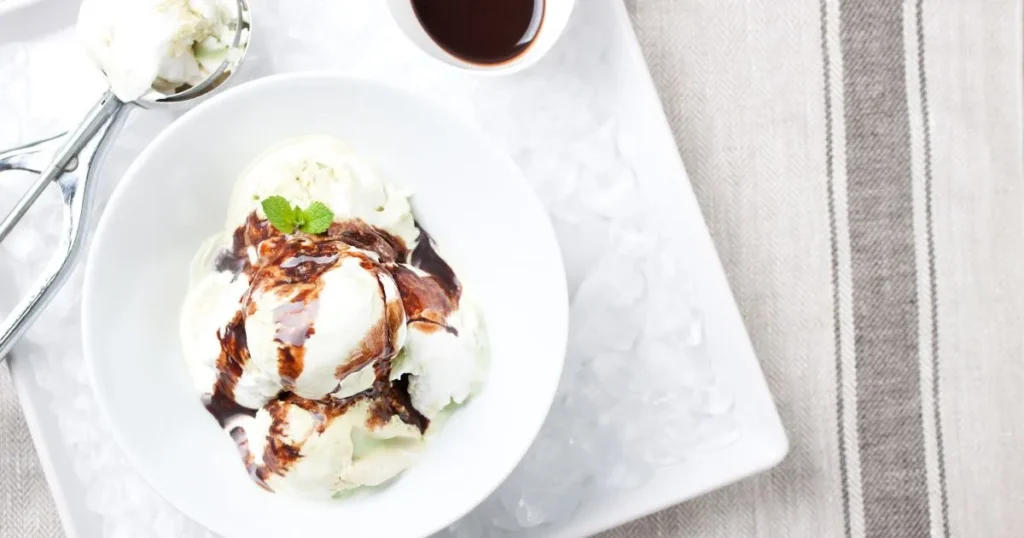
Extra Ideas to Elevate Your Vanilla Ice Cream
- Swirls and Sauces: Caramel, chocolate fudge, or berry coulis add layers of flavor.
- Creative Mix-ins: Brownie chunks, candied nuts, or toasted coconut.
- Serving Suggestions: Pair with fresh fruit, pie, or warm cookies for a delightful dessert.
- Presentation: Use a scoop warmed in hot water for perfect balls and attractive serving.
Conclusion
Making homemade vanilla ice cream is more than just a dessert project; it’s an experience that rewards you with creamy, luscious results every time. By following these steps and using high-quality ingredients, you can enjoy the taste of professional-quality ice cream in your own kitchen.
Whether you’re experimenting with flavors, adding mix-ins, or serving it at a summer gathering, this simple, fun, and satisfying activity will impress both yourself and your loved ones. So, grab your ice cream maker, gather your ingredients, and start crafting the ultimate homemade vanilla ice cream today. The joy, aroma, and creamy perfection await you—one delicious scoop at a time!
Call-to-Action:
Don’t wait for summer to enjoy this creamy treat. Start your ice cream adventure today, experiment with flavors, and share the joy with your family and friends. Your perfect bowl of homemade vanilla ice cream is just a churn away!