Cuisinart ice cream maker : How to Make Vanilla Ice Cream at Home

Table of Contents
Childhood summer nostalgia awakens with that first spoonful of homemade vanilla ice cream. I recall watching my grandmother make rich, velvety desserts. These turned simple ingredients into magical treats. Now, you can make your own using a Cuisinart ice cream maker, turning your kitchen into a sweet workshop.
Making your own ice cream is more than just cooking. It’s about creating deliciousness from scratch. With simple Cuisinart ice cream maker instructions, anyone can make ice cream like a pro. Your homemade ice cream will be fresher, tastier, and without artificial preservatives.
This guide will show you how to make perfect vanilla ice cream. Whether you’re new to cooking or have experience, using a Cuisinart ice cream maker is easy. Get ready to wow your family and friends with a dessert that’s both classic and impressive.
By following our detailed instructions, you’ll learn to make a luxurious frozen treat. It will beat any store-bought ice cream. Let’s start your ice cream making journey!
Essential Equipment and Ingredients for Homemade Ice Cream
Making delicious homemade ice cream begins with the right tools and ingredients. Your Cuisinart ice cream maker manual is your guide. It helps you make smooth, creamy treats that are as good as those from a professional shop.
Kitchen Tools You’ll Need
Before you start making ice cream, you need some basic kitchen tools:
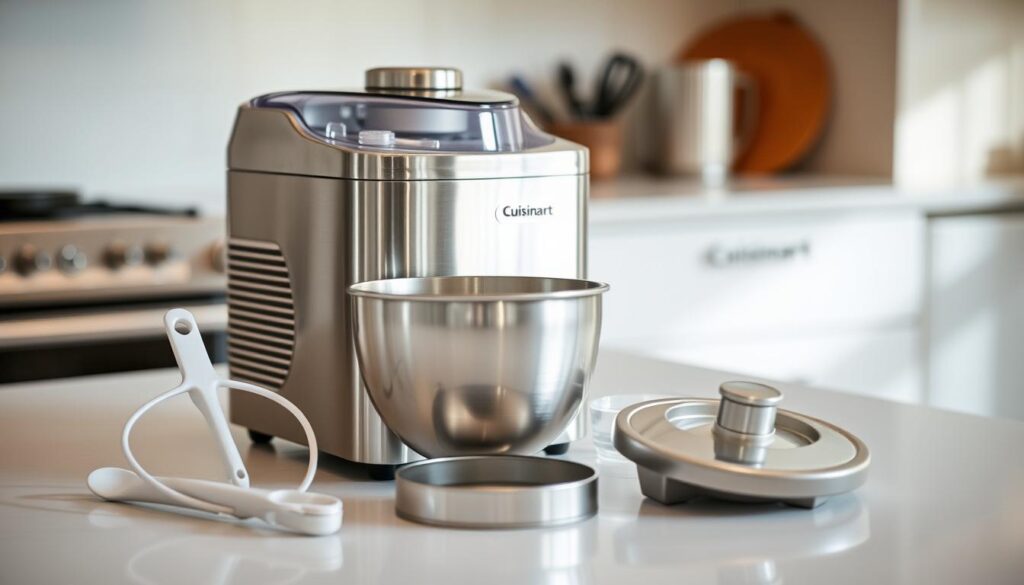
- Cuisinart frozen yogurt machine setup
- Large mixing bowls
- Whisk or electric mixer
- Measuring cups and spoons
- Saucepan
- Rubber spatula
- Fine-mesh strainer
Essential Ingredients for Perfect Ice Cream
The quality of your homemade ice cream depends on the ingredients. Here’s what you’ll need:
| Ingredient | Purpose | Potential Substitution |
|---|---|---|
| Heavy Cream | Creates rich texture | Coconut cream (non-dairy) |
| Whole Milk | Provides smooth consistency | Almond milk |
| Cane Sugar | Adds sweetness | Honey, maple syrup |
| Vanilla Extract | Enhances flavor | Vanilla bean paste |
Understanding Ice Cream Base Components
Every ingredient plays a crucial role in creating perfect ice cream. Fat content from cream and milk makes it smooth. Sugar stops ice crystals from forming. The Cuisinart ice cream maker manual suggests using exact amounts for the best results.
Expert advice: Choose fresh, premium ingredients for optimal flavor. Your taste buds will love it!
Preparing Your Ice Cream Maker for Perfect Results
The key to delicious ice cream using your Cuisinart maker starts with careful preparation. Your machine needs a good setup for smooth, creamy ice cream every time.
Freezing the bowl is the first step. Put the freezer bowl in the coldest part of your freezer for at least 12-24 hours before you start. This makes sure the bowl is ready for churning.
- Wash the ice cream maker completely before using it for the first time
- Ensure freezer bowl is completely dry before freezing
- Place the freezer bowl in the back section of your freezer for the most consistent temperature
Cleaning your Cuisinart ice cream maker between uses is key. It keeps flavors from mixing and makes your machine last longer. After every use, wash the removable pieces in warm soapy water and ensure they’re completely dry.
Expert advice: Ensure your freezer maintains 0°F (-18°C) or below. This optimal temperature works best for your ice cream maker’s bowl.
A well-prepared ice cream maker is the secret to restaurant-quality homemade desserts!
By following these steps, you’re ready for ice cream making success. You’ll get smooth churning and delicious results every time.
Cuisinart Ice Cream Maker Instructions
Creating tasty homemade ice cream is simple when you follow the proper steps. This guide will show you how to make ice cream with your Cuisinart ice-30bc pure indulgence. You’ll learn the key steps for smooth and tasty ice cream.
Pre-Freezing the Bowl Requirements
Getting your Cuisinart ice cream maker ready is important. Here’s what to do:
- Freeze the bowl for at least 16-24 hours before using it
- Make sure your freezer is colder than 0°F
- Place the bowl in the coldest area of your freezer
- Make sure the bowl is solid and not frosty
Operating Temperature Guidelines
Temperature is key when making ice cream with your Cuisinart. Your kitchen’s temperature affects the ice cream:
- The best room temperature is 70-75°F
- Avoid making ice cream in hot, humid places
- Work fast to keep ingredients cold
Churning Time Recommendations
The churning process turns your mix into creamy ice cream. Here’s what to aim for:
- Churning usually takes 20-30 minutes
- Look for when it thickens and grows
- Stop when it’s soft-serve ready
“The key to perfect ice cream is patience and precise temperature control.” – Cuisinart Ice Cream Expert
By following these steps, you’ll make amazing homemade ice cream every time.
Creating the Perfect Ice Cream Base Mixture
Creating an excellent ice cream base is essential when using your Cuisinart ice cream maker. Success begins with selecting quality ingredients and following proper procedures.
To begin, you’ll need these basic ingredients:
- Heavy cream
- Whole milk
- Granulated sugar
- Pure vanilla extract
- Pinch of salt
Begin by combining your ingredients in a medium-sized pot over medium-low heat. Whisk consistently to avoid scorching and ensure everything mixes well.
How you mix is important. Stir gently but well, so the sugar dissolves fully. This makes a smooth base for creamy ice cream.
Pro tip: Invest in a reliable kitchen thermometer to monitor your mixture’s temperature accurately.
Look for these signs your base is ready:
- Sugar crystals have disappeared
- Mixture feels warm but not boiling
- Consistency becomes slightly thickened
Being patient here is important. It makes your ice cream rich and velvety, pleasing even the pickiest dessert fans.
Proper Mixing and Heating Techniques
Making the perfect ice cream base needs precision and care. When you follow cuisinart ice cream maker instructions, knowing how to mix and heat is key. It can turn your homemade dessert into something truly special.
Perfect ice cream preparation comes down to controlling temperature and properly combining ingredients. Your success comes from small, yet important steps. These steps ensure your ice cream is smooth and creamy.
Temperature Control Tips
- Heat ingredients gradually using medium-low heat
- Stir consistently to prevent scorching
- Look for a thin circle of foam forming around the edges as a temperature guide.
- Use a digital thermometer for precise measurements
Achieving the Right Consistency
When preparing Cuisinart ice cream recipes, the mixture should cling to the back of a spoon. But it shouldn’t run right away. This nappe consistency means your mixture is just right.
| Consistency Indicator | Meaning | Action |
|---|---|---|
| Thin, watery | Undercooked | Continue heating |
| Thick, coating spoon | Perfect base | Remove from heat |
| Extremely thick | Overcooked | Restart mixture |
Preventing Sugar Crystallization
Sugar crystallization can mess up your ice cream’s texture. To avoid this, do the following:
- Dissolve sugar completely before heating
- Avoid rapid temperature changes
- Stir the mixture while it cools
By using these methods, you’ll make a top-notch ice cream base. It will be smooth and delicious every time.
The Crucial Chilling Process

Learning how to use a Cuisinart ice cream maker starts with understanding chilling. This step is key to making smooth, creamy desserts. The time you chill your ice cream base greatly affects its texture and taste.
Setting up your Cuisinart frozen yogurt machine needs careful pre-chilling of the base. Refrigeration helps ingredients blend and develop deep flavors. It also gets the mixture ready for churning.
“Perfect ice cream begins long before the churning process starts” – Professional Pastry Chef
Chilling Recommendations
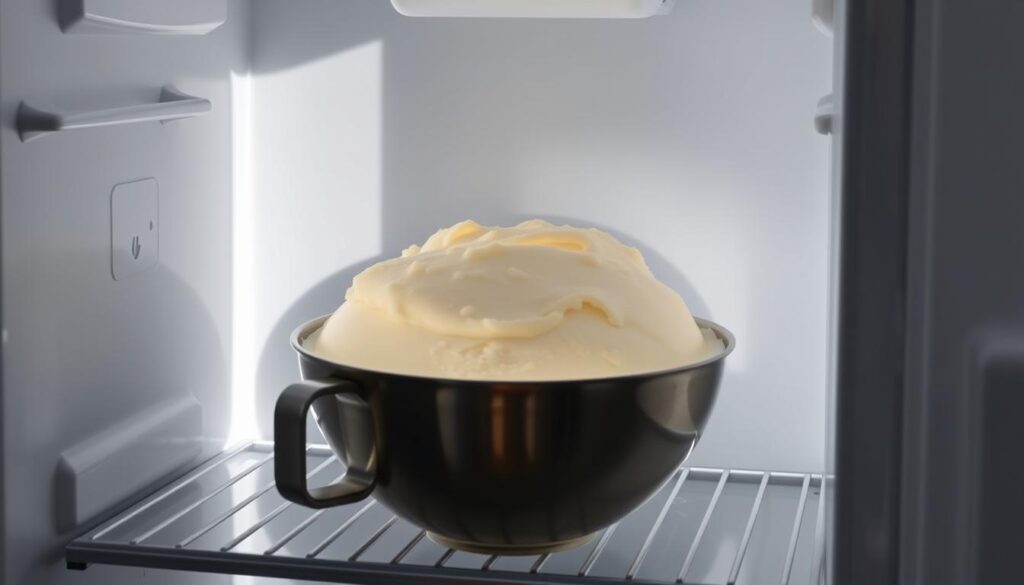
- Refrigerate base for 2-8 hours
- Optimal chilling temperature: 36-40°F
- Use airtight container during chilling
- Avoid placing hot mixture directly in refrigerator
Chilling times depend on your recipe’s ingredients. Custard-based mixtures need longer cooling times than Philadelphia-style ice creams.
| Base Type | Minimum Chilling Time | Maximum Recommended Time |
|---|---|---|
| Custard Base | 4 hours | 24 hours |
| Philadelphia Base | 2 hours | 12 hours |
By sticking to these chilling guidelines, your homemade ice cream will be as smooth and flavorful as a pro’s.
Churning Your Ice Cream to Perfection
Mastering the churning process is key when using your Cuisinart ice-30bc pure indulgence instructions. This is where your ice cream mixture turns from liquid to creamy delight.
Understanding churning dynamics helps you fix common ice cream maker issues. Your ice cream maker adds air and freezes the mixture at the same time.
Optimal Churning Duration
The best churning time is usually 20-25 minutes. Keep an eye out for these signs:
- Mixture starts to thicken
- Texture changes from liquid to soft serve
- Volume goes up by 25-50%
Signs Your Ice Cream is Ready
Knowing when to stop churning is important. Look for these signs:
- Soft serve consistency – mixture should hold its shape
- Paddle becomes hard to rotate
- Ice cream looks thick and creamy
Pro tip: If the ice cream seems a bit soft, don’t worry. It will firm up in the freezer, making it perfect for scooping.
Storage Tips and Best Practices

After making your homemade ice cream, it’s important to store it right. This keeps it creamy and flavorful. Your journey with your Cuisinart ice cream maker doesn’t stop after making it. It continues with smart ways to keep it fresh.
Choosing the right container is key. Look for an airtight one made for freezer use. Glass or hard plastic with tight lids are best. They protect against freezer burn and preserve the proper taste.
- Store ice cream at the back of the freezer to maintain consistent temperature
- Use containers with minimal air space to reduce ice crystal formation
- Place plastic wrap directly on the surface before closing the lid for additional protection
Your Cuisinart ice cream maker manual will tell you to store ice cream for up to a month. To serve it well, take it out of the freezer 5-10 minutes before scooping. This lets it soften a bit, making it easier to enjoy.
| Storage Duration | Quality Preservation Tips |
|---|---|
| 0-1 Week | Peak flavor and texture maintained |
| 1-2 Weeks | Slight texture changes may occur |
| 2-4 Weeks | Potential ice crystal development |
Always clean your Cuisinart ice cream maker well after each use. This stops flavors from mixing and keeps it working longer. Clean components with warm, sudsy water and completely dry them before storing.
Pro tip: Always let your homemade ice cream harden in the freezer for 2-3 hours before serving for the best scooping experience.
Flavor Variations and Add-ins
Creating delicious cuisinart ice cream recipes is more than just vanilla or chocolate. Adding exciting mix-ins can make your homemade ice cream truly special. Your Cuisinart ice cream maker lets you explore endless flavors.
Discovering mix-in options can turn simple ice cream into a gourmet delight. The trick is knowing when and how to add these tasty ingredients during churning.
Popular Mix-in Options
- Crunchy textures:
- Crushed cookies
- Chopped candy bars
- Toasted nuts
- Chocolate chips
- Sweet chunks:
- Brownie pieces
- Cheesecake cubes
- Marshmallow bits
- Fruity additions:
- Mashed berries
- Caramelized fruit chunks
- Fruit preserves
Perfect Timing for Mix-ins
Timing is everything when using your Cuisinart sorbet maker tips. Include solid add-ins during the final 5 minutes of churning.This way, they won’t sink and will mix evenly. Liquid or soft ingredients like fruit purees can be gently folded in after churning.
Pro tip: Freeze chunky mix-ins before adding them. This keeps your ice cream base from melting and prevents clumping.
Troubleshooting Common Ice Cream Making Issues
Learning to use a Cuisinart ice cream maker can come with challenges. But, with some troubleshooting, you can make perfect ice cream every time.
Ice cream’s texture and consistency depend on several factors. Here are common issues you might face:
- Ice Cream Too Soft: If your ice cream has a runny consistency, look at these potential reasons:
- Freezer bowl not cold enough
- Mixture temperature too warm
- Churning time not long enough
- Ice Cream Too Hard: When your ice cream becomes too solid, it may be due to:
- Freezing it for too long
- Base mixture has too little fat
- Not enough sugar
“The secret to perfect ice cream lies in understanding your equipment and ingredients.” – Culinary Expert
Pro tip: If your ice cream has been frozen overnight, let it sit at room temperature for 5-10 minutes. This will make it perfect for scooping.
Common fixes for texture problems include:
- Confirm the freezer bowl has been fully frozen (24 hours minimum)
- Chill the base mixture well before churning
- Measure ingredients accurately
When learning with a Cuisinart ice cream maker, be patient and keep practicing. Each batch helps you get better and understand your machine’s quirks.
Conclusion
Making homemade ice cream with a Cuisinart ice cream maker is fun and easy. Just follow the instructions, and you’ll make creamy, rich treats in your kitchen. You’ll discover a world of tasty desserts.
Try out different Cuisinart ice cream recipes to get creative. You can make everything from classic vanilla to new flavors. It’s rewarding to make something delicious yourself.
Keep practicing to get better at making ice cream. Each try will make you more confident. Don’t be shy to try new things and make your own recipes. Your ice cream journey is just starting, and you can do anything you imagine.
Start your ice cream making adventure today and savor the delicious process. Your taste buds will love it!
